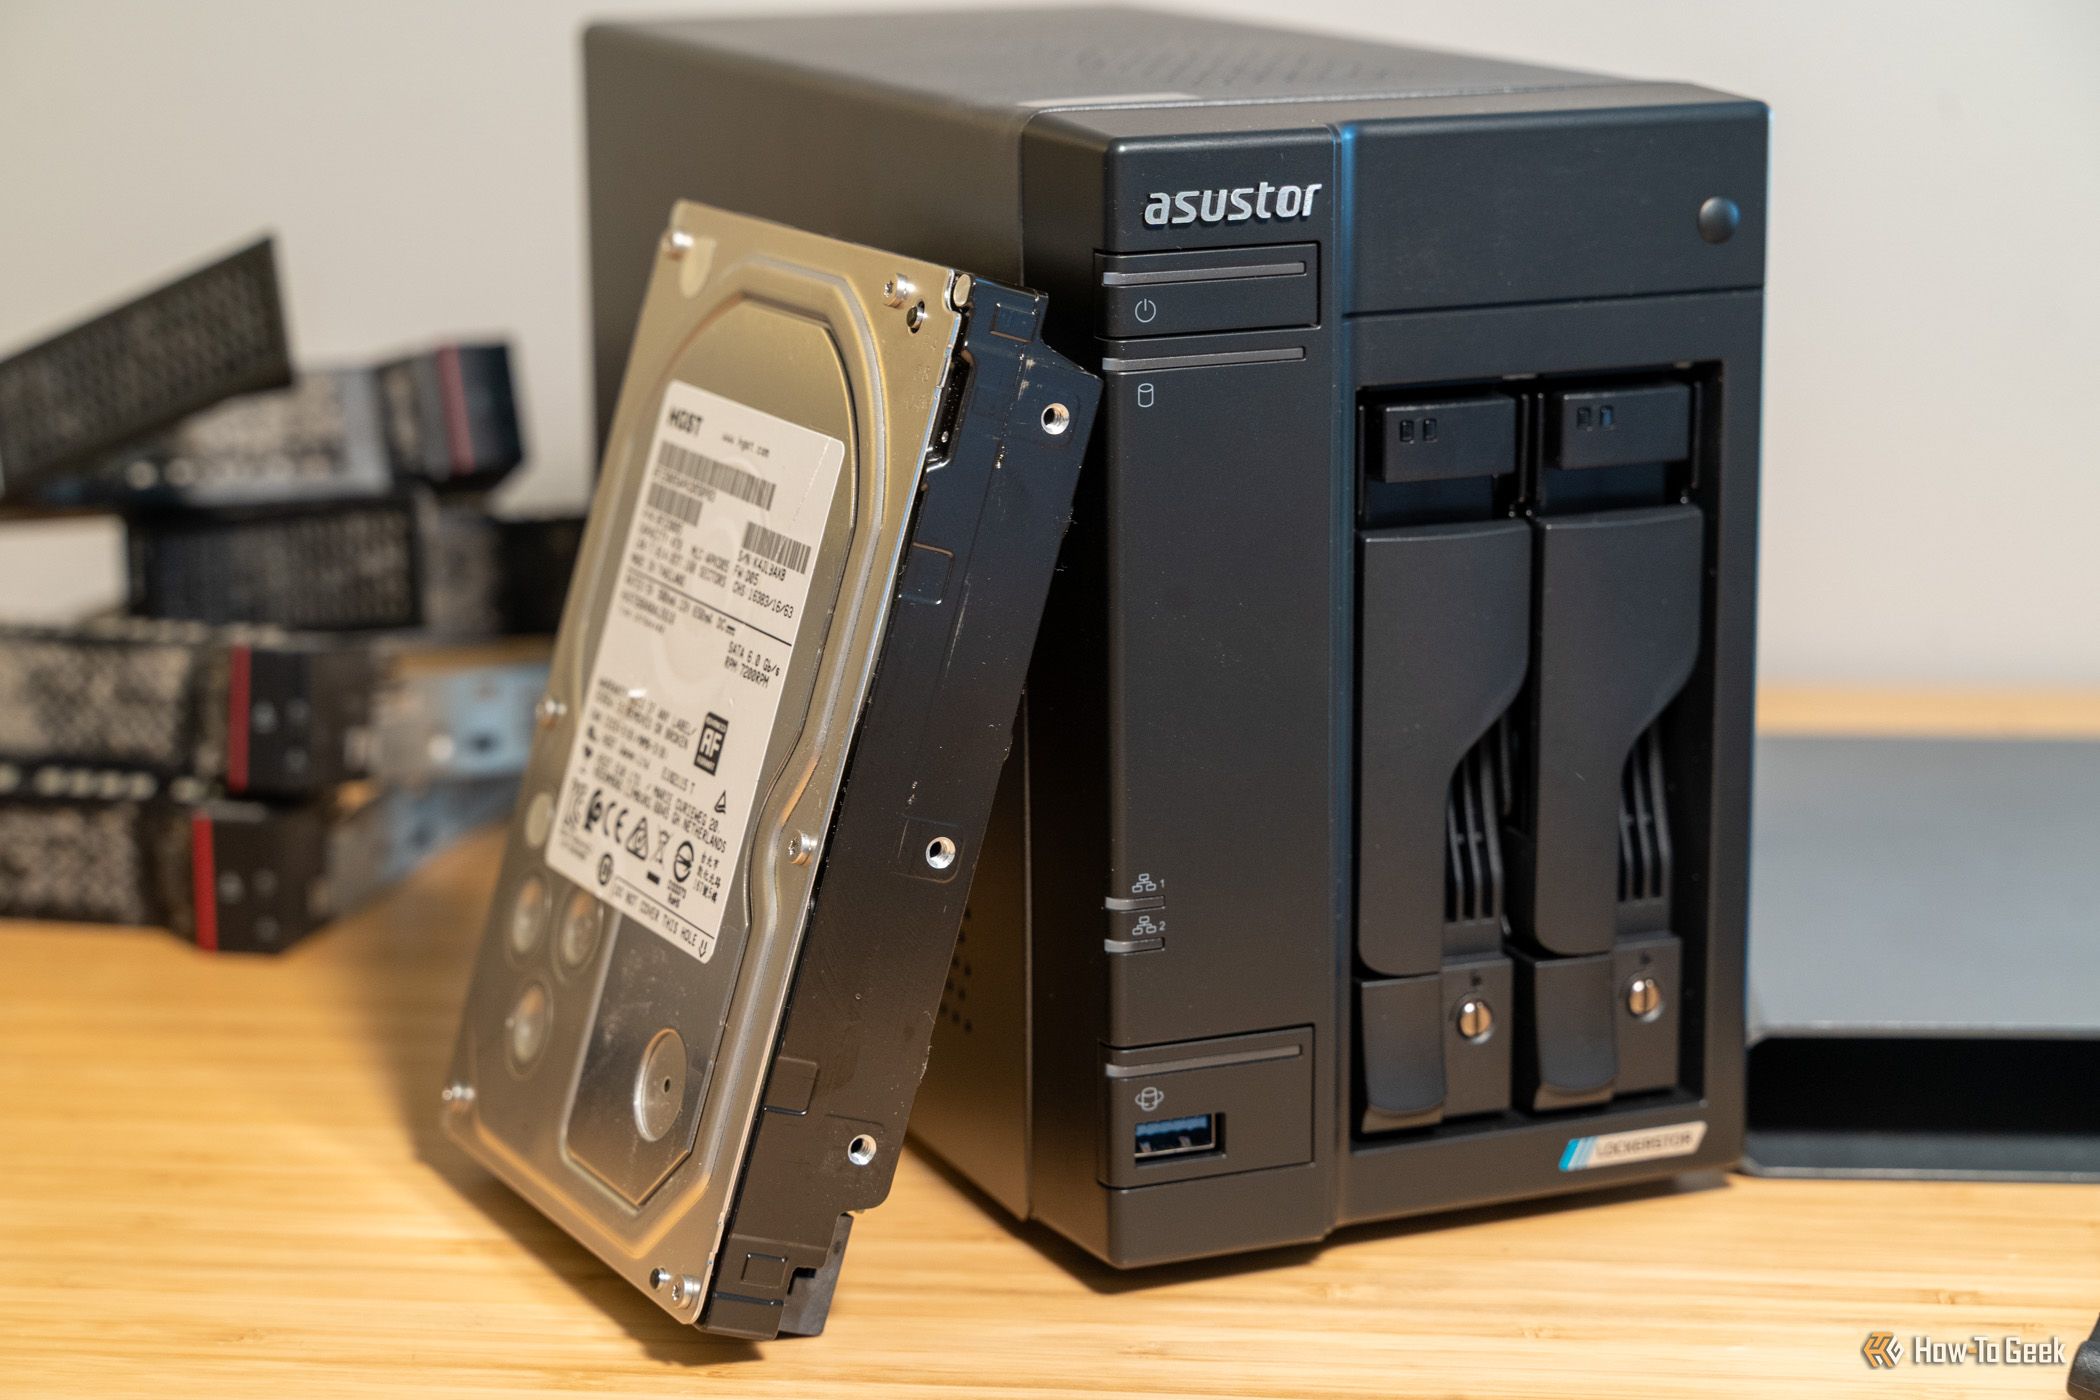
Asustor NAS drive tray (Credits: How-To Geek)
Your NAS runs around the clock — serving files, streaming media and holding backups for every device in the house. But here’s the thing: the backup drive you can trust most is the one that’s not even plugged in. An unplugged drive is the closest a home user can get to a true air gap, and it protects against threats no RAID array can stop.
Step 1: Why Unplug — Ransomware, Human Error and Power Surges
The biggest reason is simple: software can’t touch hardware it can’t see. Modern ransomware doesn’t stop at the machine it infects — it hunts for mapped network shares, mounted volumes and attached storage, encrypting everything it can write to. A NAS with its backup drive always attached gives malware one target holding both your data and its copy. A drive in a drawer is out of reach entirely.
The same logic covers human error. RAID mirrors disk failures away, but it faithfully mirrors deletions, overwrites and corruption too — a misconfigured sync job or a careless click can spread to every connected copy in minutes. An offline drive preserves a snapshot of your data as it was the last time you plugged it in, immune to whatever happens to the live system. Plus, a drive that’s unplugged isn’t part of the circuit, so power surges and lightning strikes can’t touch it — and it avoids the heat and spin-hours that wear drives down.
Step 2: Plug It In on a Schedule and Follow the 3-2-1 Rule
The catch: an unplugged drive is only as current as your last backup. If you back up monthly, everything created since exists only on the live NAS. The fix is a regular schedule — pick a cadence (weekly is a solid default for most homes) and stick to it, so the gap between backups stays small. That’s the offline leg of the classic 3-2-1 backup rule: three copies, two media types, one offsite or offline.
Also Read: Homelab Storage Mistakes to Avoid: Cheap Hard Drives and USB Enclosures Can Cost You Your Data | Microsoft Killed Windows 11’s PC-to-PC Migration: Here’s How to Still Transfer Your Files
Source: How-To Geek — read the full story there.